
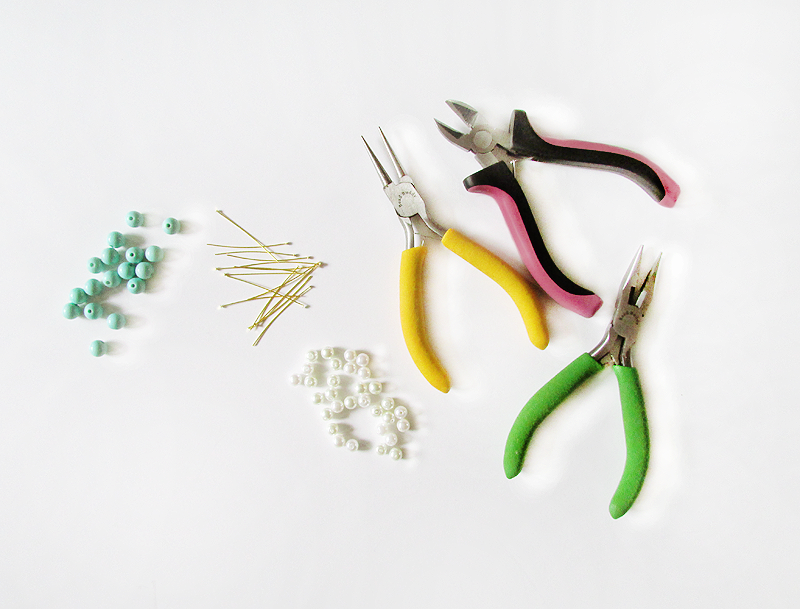
 Materials
*Round Nose Pliers
*Chain Nose Pliers
*Wire Cutter
*Gold Headpins
*Pearls
*Mint Beads
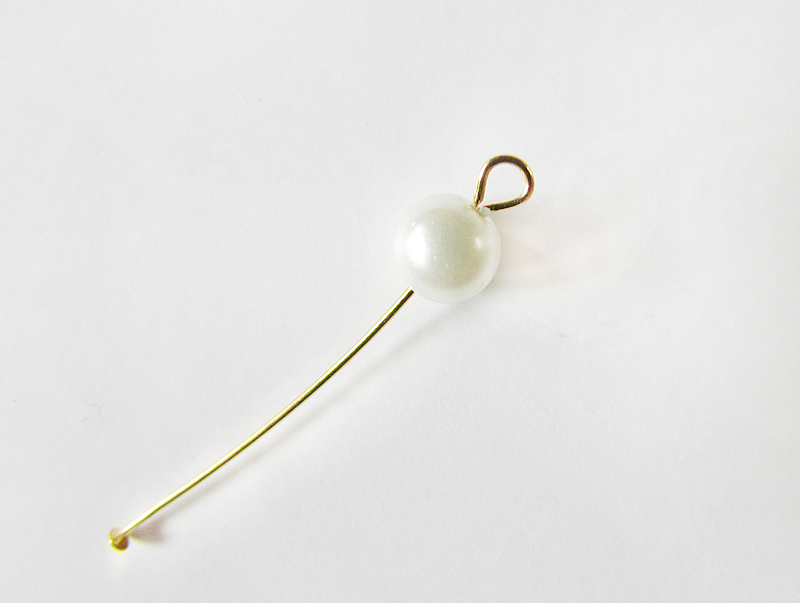 Step 1
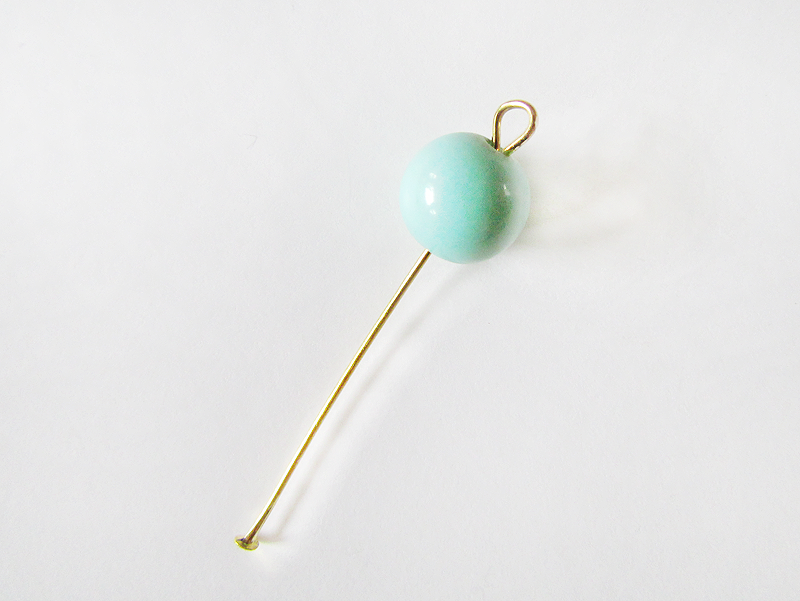
: Take a headpin and poke it through the pearl. Use the round nose pliers to create a loop at the end.
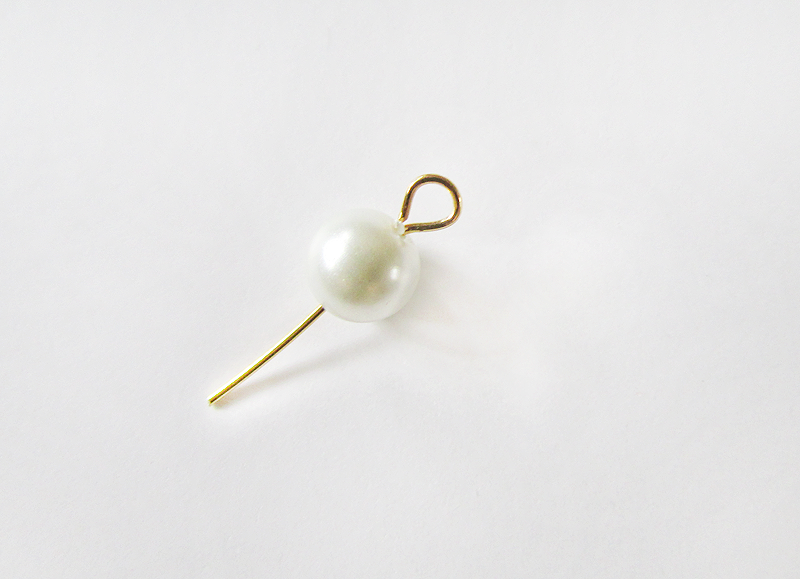 Step 2
: Use the wire cutter and cut an inch and 1/2 off of the headpin. (Measurements can be different depending on how long or short your headpin is)
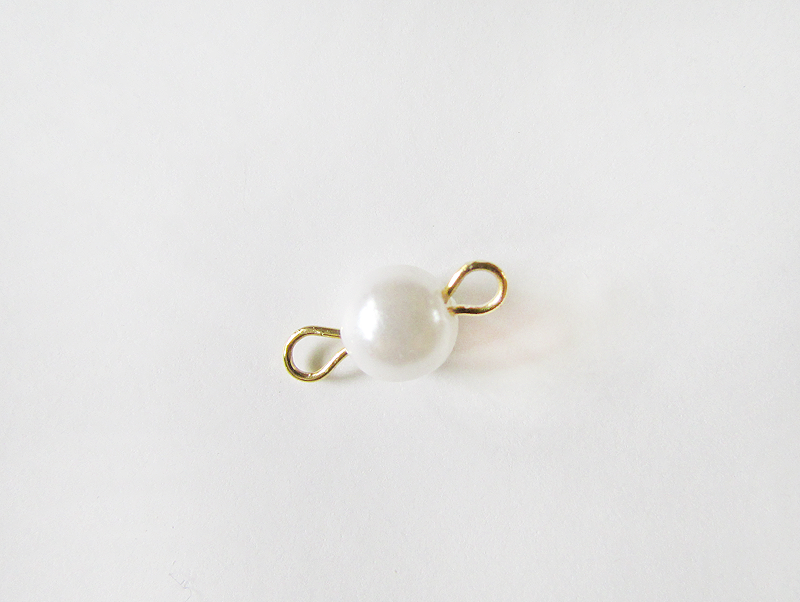 Step 3
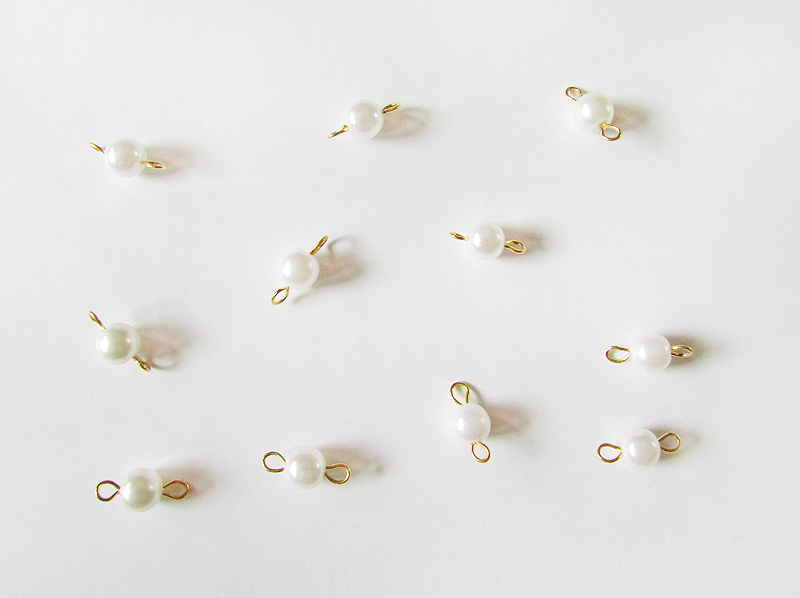
: Use the round nose pliers to create another loop at the end. Keep repeating the steps.
 Step 4
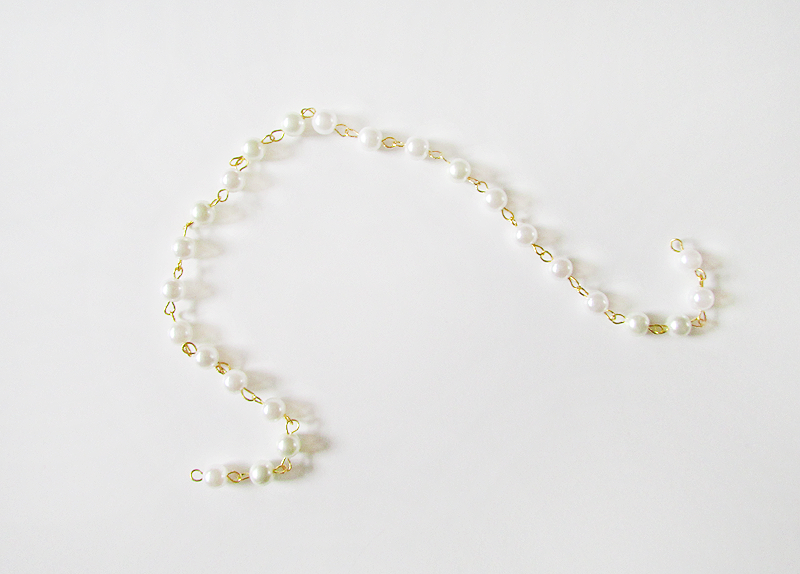
: Once you start to have enough of the pearls, start connecting them together by using the round nose pliers to open the loop and connect it to the next pearl. Use the chain nose pliers to secure it closed if you have to. Keep repeating this step.
 Step 5
: Follow step 1 and 2. Basically, you're just doing the same step over and over for the mint beads.
 Step 6
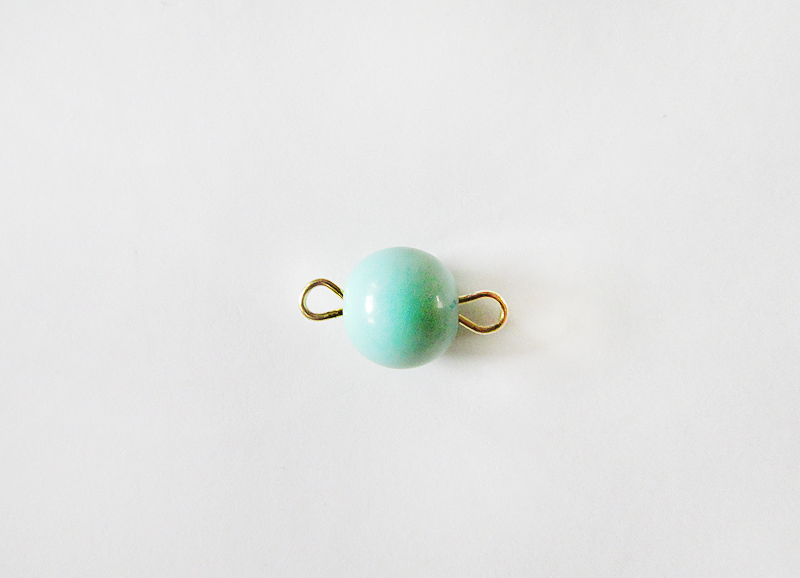
: Follow step 3. Use the round nose pliers to create another loop at the end. Keep repeating the steps.

It should look like this when you're done.
 Step 7
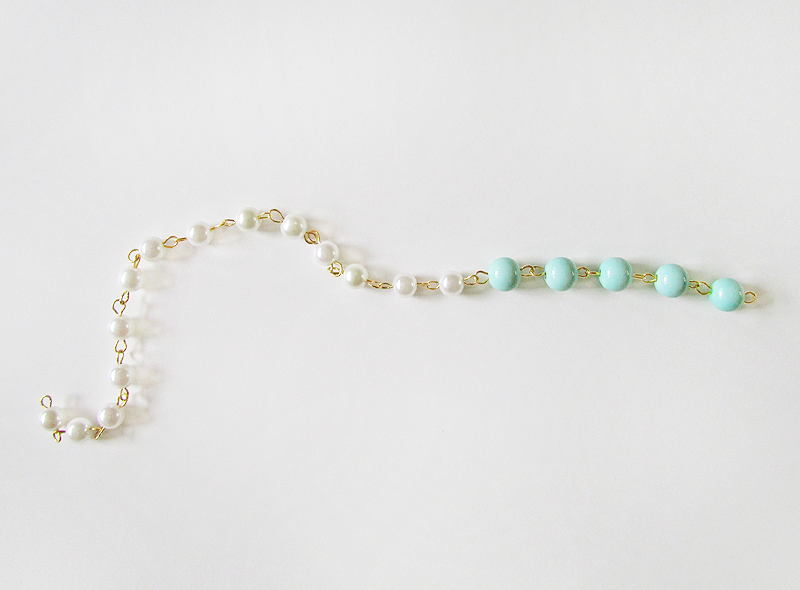
: Connect both the white pearls and the mint beads together by using the round nose pliers to open the loop. Use the round nose pliers and chain nose pliers to secure it tightly.
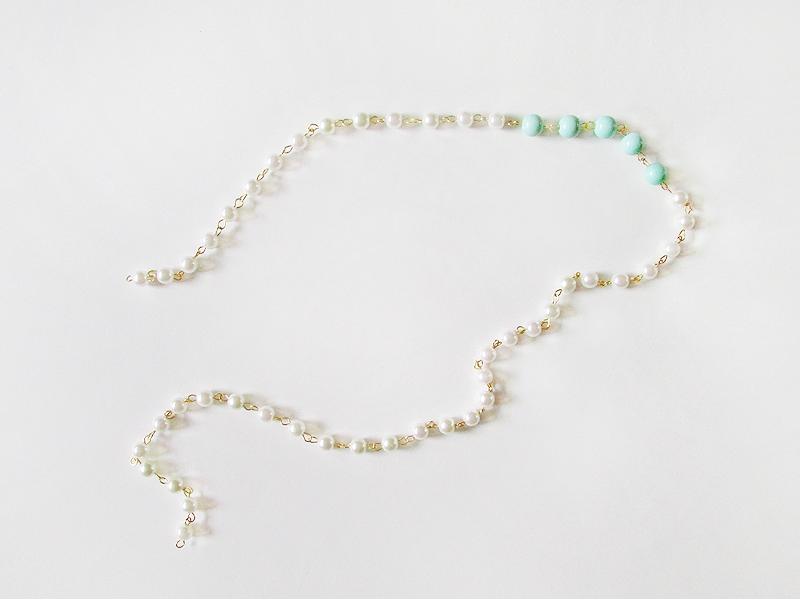
Once you're done connecting both the white pearls and mint beads, you can finally connect both ends together.
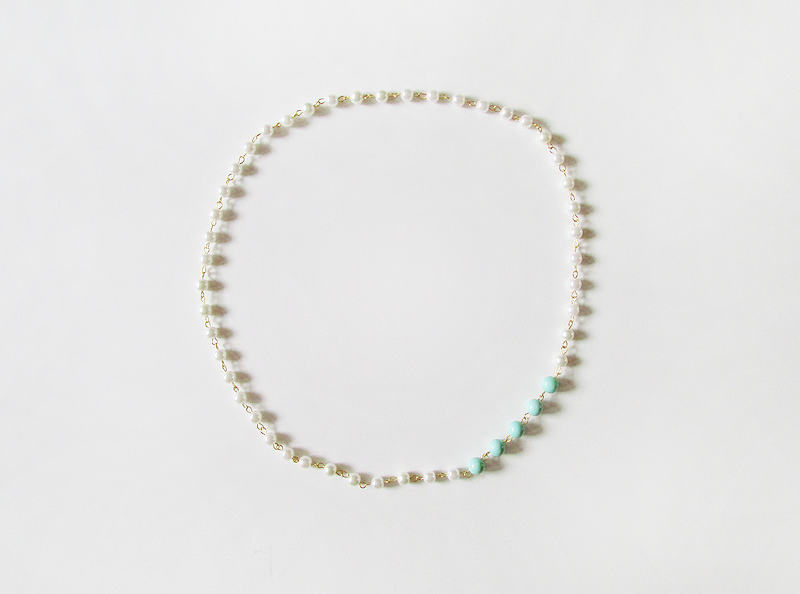
FINISHED LOOK!!


 Materials
*Round Nose Pliers
*Chain Nose Pliers
*Wire Cutter
*Gold Headpins
*Pearls
*Mint Beads
Materials
*Round Nose Pliers
*Chain Nose Pliers
*Wire Cutter
*Gold Headpins
*Pearls
*Mint Beads
 Step 1: Take a headpin and poke it through the pearl. Use the round nose pliers to create a loop at the end.
 Step 2: Use the wire cutter and cut an inch and 1/2 off of the headpin. (Measurements can be different depending on how long or short your headpin is)
 Step 3: Use the round nose pliers to create another loop at the end. Keep repeating the steps.

 Step 4: Once you start to have enough of the pearls, start connecting them together by using the round nose pliers to open the loop and connect it to the next pearl. Use the chain nose pliers to secure it closed if you have to. Keep repeating this step.
 Step 5: Follow step 1 and 2. Basically, you're just doing the same step over and over for the mint beads.
 Step 6: Follow step 3. Use the round nose pliers to create another loop at the end. Keep repeating the steps.
 It should look like this when you're done.
 Step 7: Connect both the white pearls and the mint beads together by using the round nose pliers to open the loop. Use the round nose pliers and chain nose pliers to secure it tightly.
 Once you're done connecting both the white pearls and mint beads, you can finally connect both ends together.
 FINISHED LOOK!!


No comments:
Post a Comment