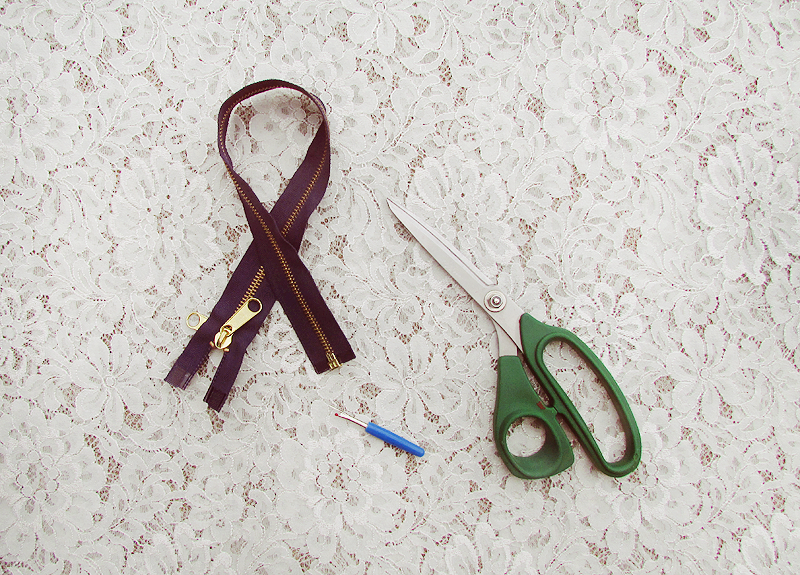
 Materials
:
*Scissors
*Zipper (16 inches)
*Thread Cutter
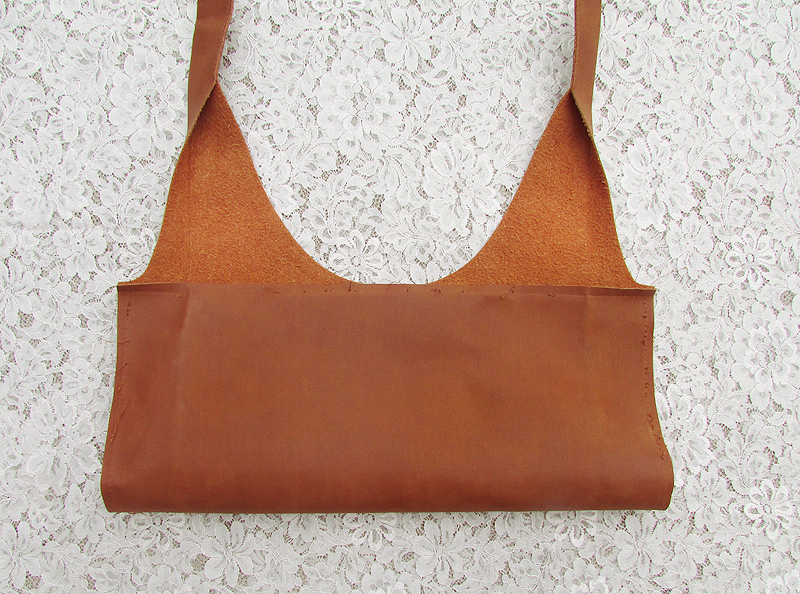
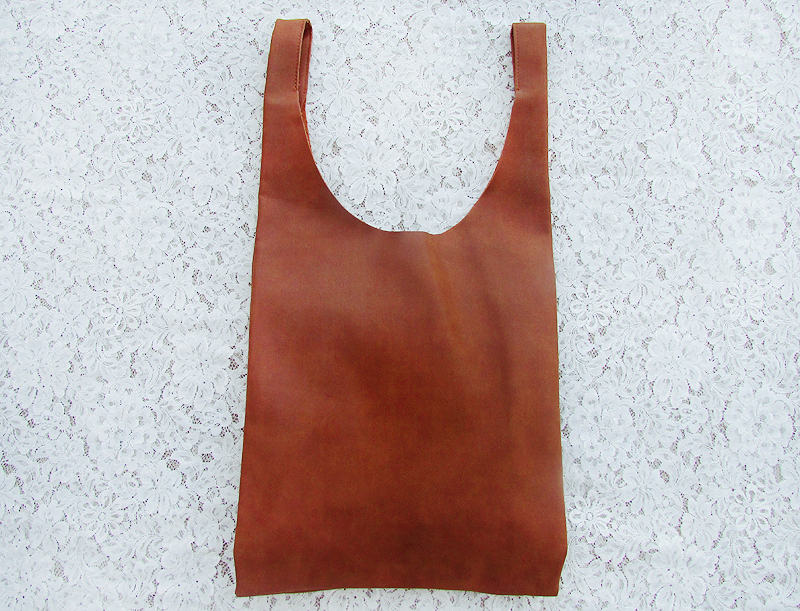 BEFORE
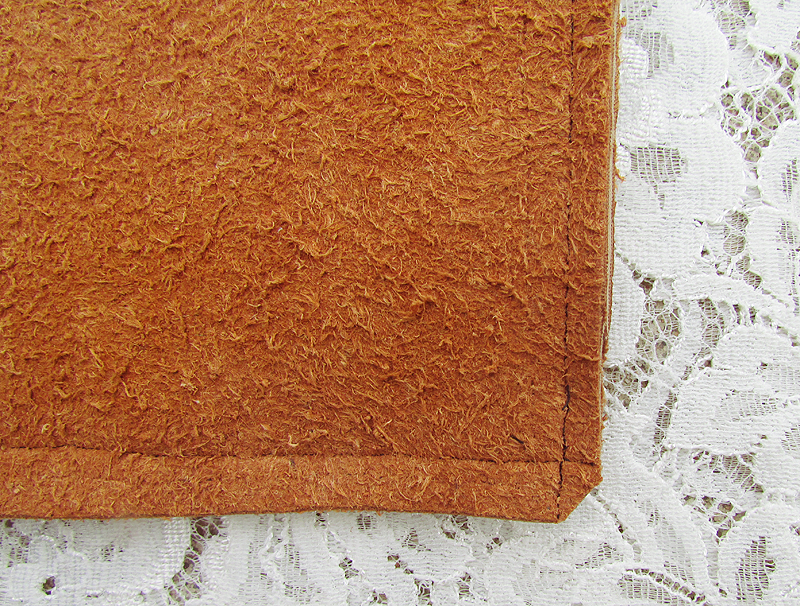
--> I bought this tote bag from Target which was on sale for $10 and decided to do something new with this bag.
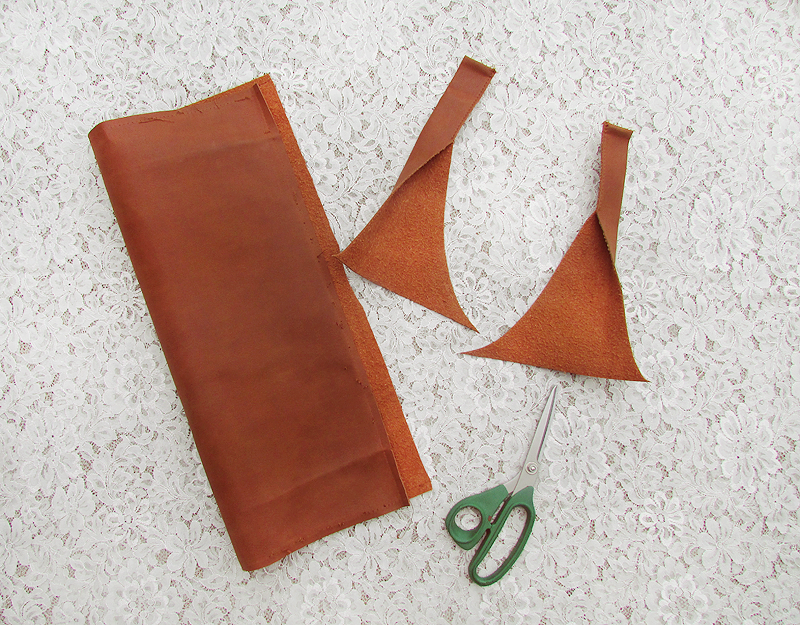
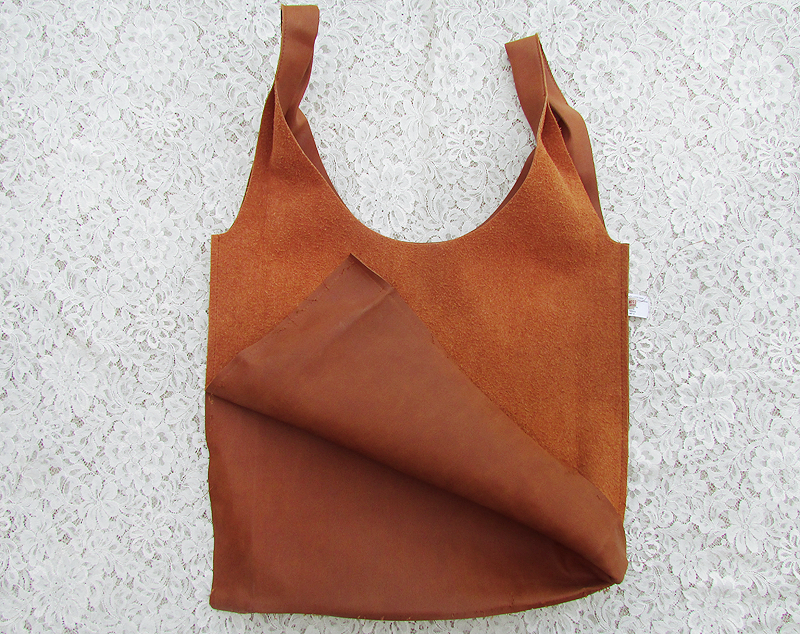 Step 1
:
Use the thread cutter and cut all the threads around the bag.
Once you are done cutting all the threads you should have two pieces.
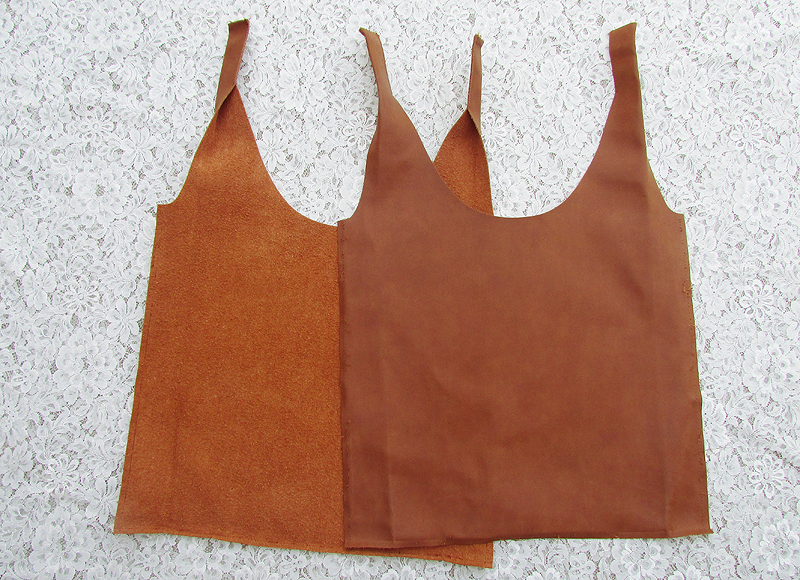
 Step 2
:
Take one piece and fold it in half and then use the scissors to cut off the handles.

It should look like a square when you are done.
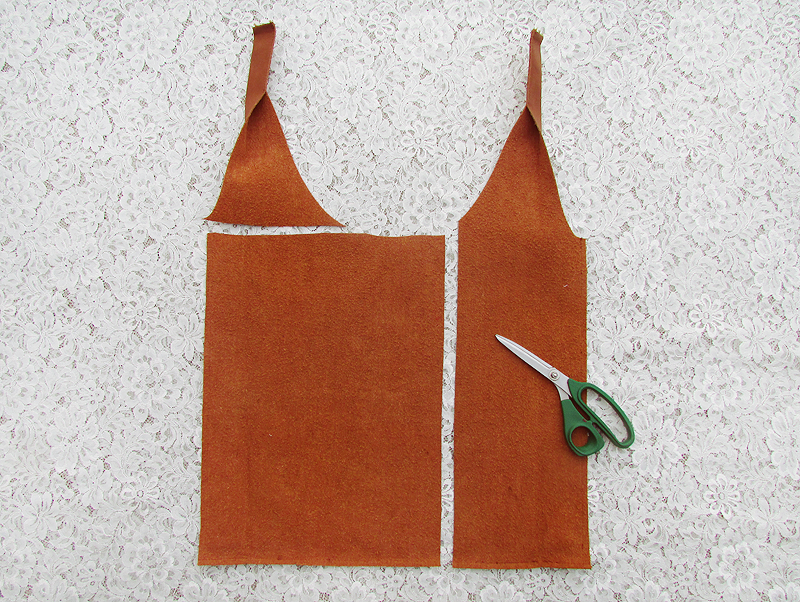
 Step 3
:
Fold it in half again and use the scissors to cut it all the way.
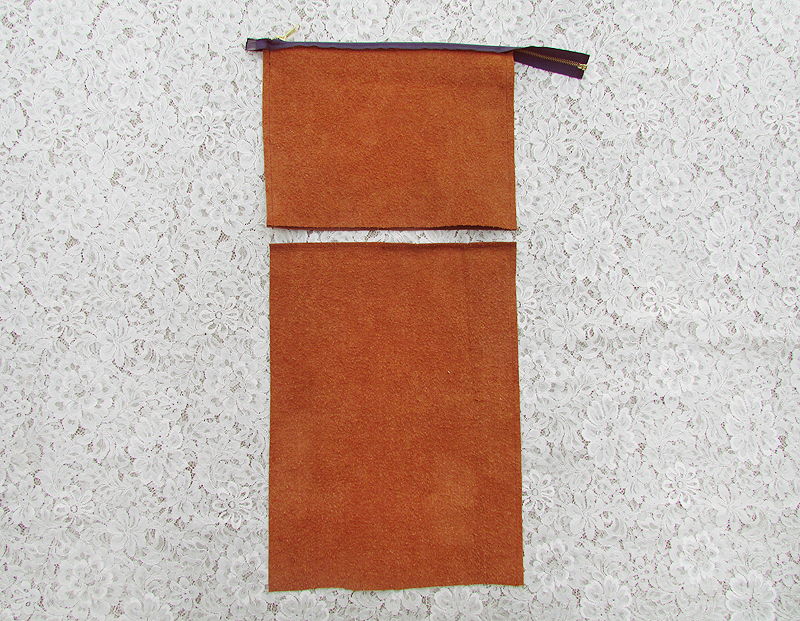
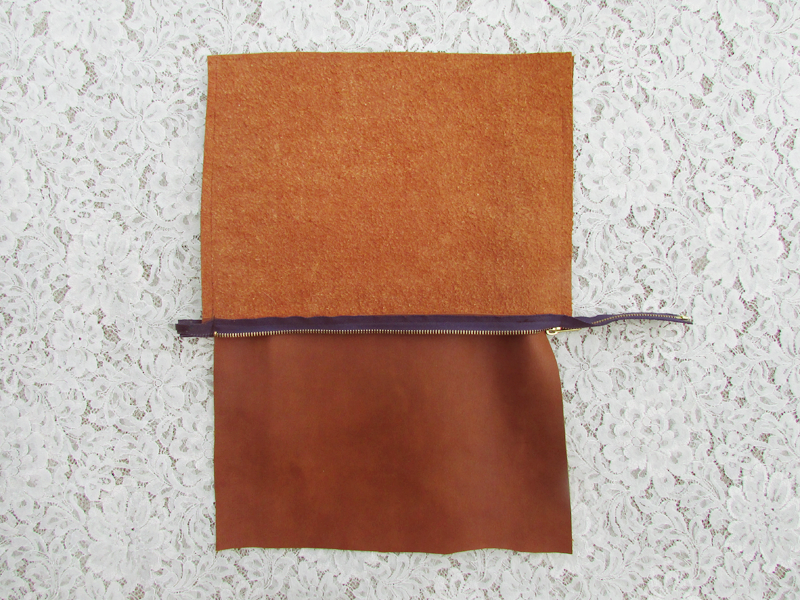
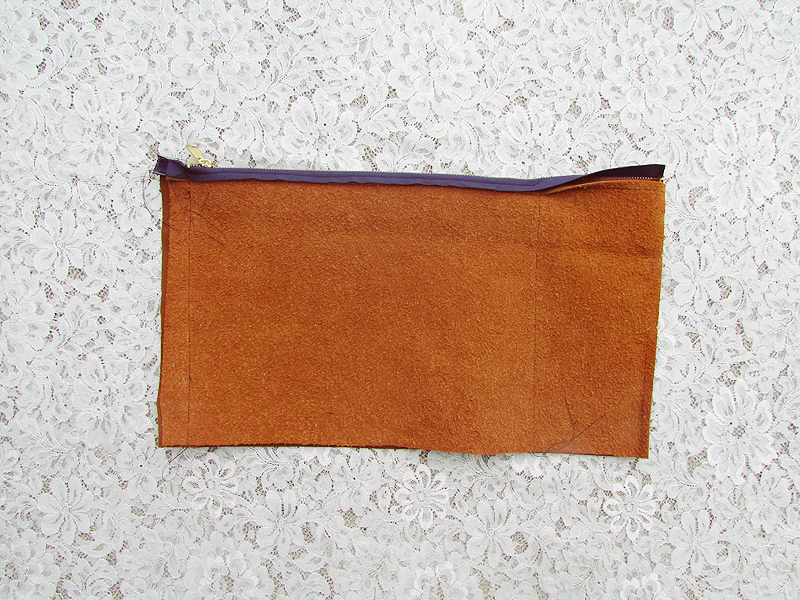 Step 4
:
Take the zipper and sew it onto the fabric. Continue to sew the edges together.
Once you are done sewing, cut off the extra fabrics.
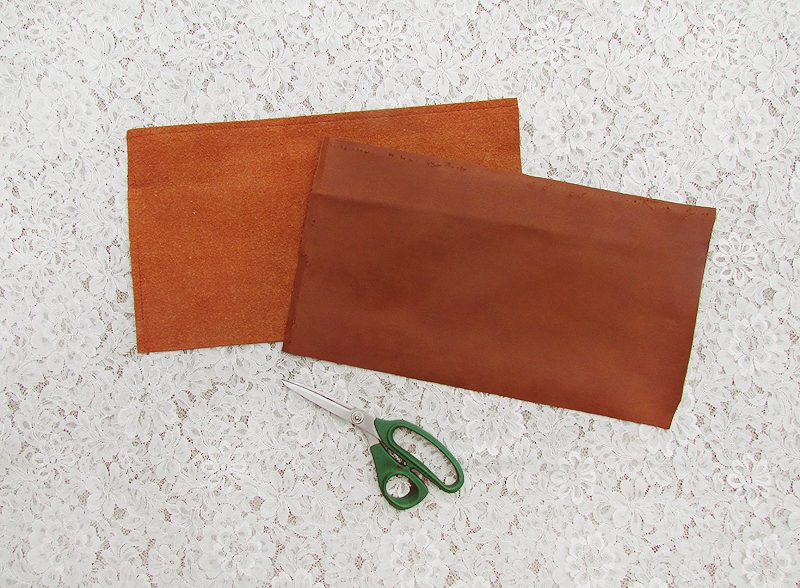
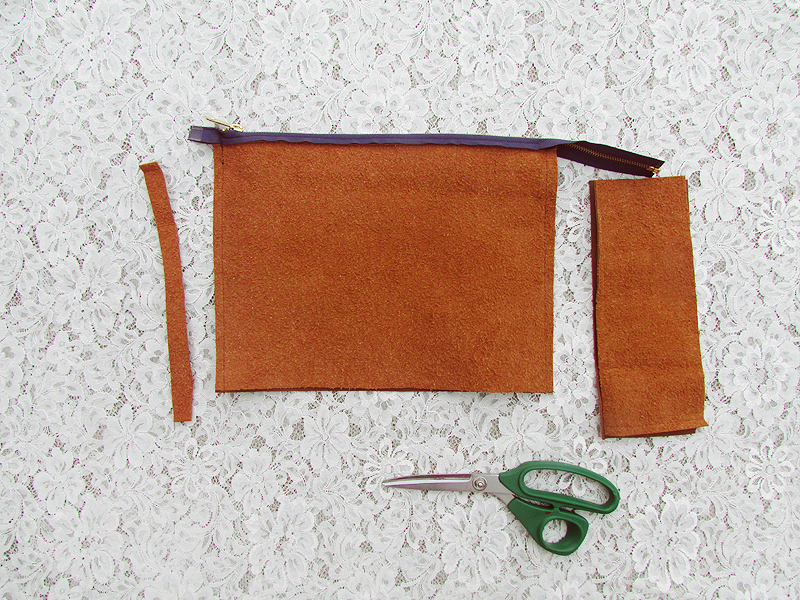
 Step 5
:
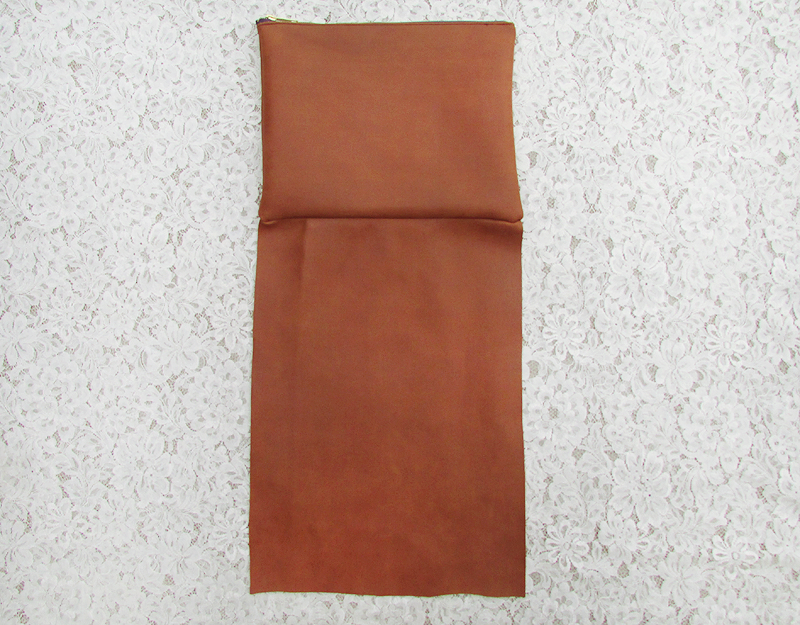
Use the other fabric piece that you cut out and measure the clutch to see how much you need to cut off.
It should look like this when you are done cutting.
*If you like short fringes, then you can cut them shorter.
 Step 6
:
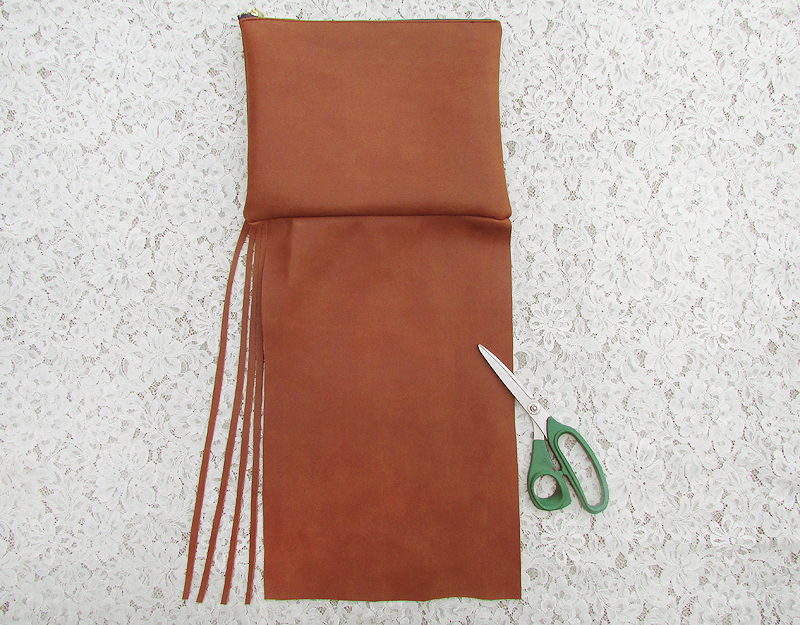
Tuck the longer fabric piece inside the clutch and make sure it’s lined equally. Sew the edges to secure it.
When you are done sewing, cut the corner off to make it easier to fold inside out.
It should look like this when you flip it inside out.
Use the scissors to cut the fabric in small lines to form the fringes.
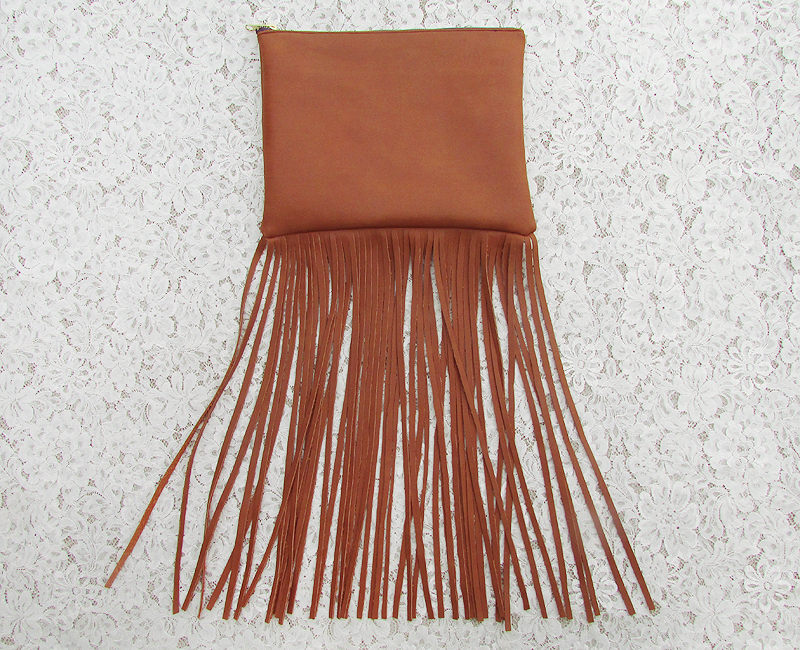
Finished Look!!!
 Materials:
*Scissors
*Zipper (16 inches)
*Thread Cutter
Materials:
*Scissors
*Zipper (16 inches)
*Thread Cutter
 BEFORE--> I bought this tote bag from Target which was on sale for $10 and decided to do something new with this bag.
 Step 1:
Use the thread cutter and cut all the threads around the bag.
Step 1:
Use the thread cutter and cut all the threads around the bag.
 Once you are done cutting all the threads you should have two pieces.

 Step 2:
Take one piece and fold it in half and then use the scissors to cut off the handles.
Step 2:
Take one piece and fold it in half and then use the scissors to cut off the handles.
 It should look like a square when you are done.
 Step 3:
Fold it in half again and use the scissors to cut it all the way.
Step 3:
Fold it in half again and use the scissors to cut it all the way.
 Step 4:
Take the zipper and sew it onto the fabric. Continue to sew the edges together.
Step 4:
Take the zipper and sew it onto the fabric. Continue to sew the edges together.
 Once you are done sewing, cut off the extra fabrics.
 Step 5:
Use the other fabric piece that you cut out and measure the clutch to see how much you need to cut off.
Step 5:
Use the other fabric piece that you cut out and measure the clutch to see how much you need to cut off.
 It should look like this when you are done cutting.
*If you like short fringes, then you can cut them shorter.
It should look like this when you are done cutting.
*If you like short fringes, then you can cut them shorter.
 Step 6:
Tuck the longer fabric piece inside the clutch and make sure it’s lined equally. Sew the edges to secure it.
Step 6:
Tuck the longer fabric piece inside the clutch and make sure it’s lined equally. Sew the edges to secure it.
 When you are done sewing, cut the corner off to make it easier to fold inside out.
 It should look like this when you flip it inside out.
 Use the scissors to cut the fabric in small lines to form the fringes.
 Finished Look!!!
No comments:
Post a Comment