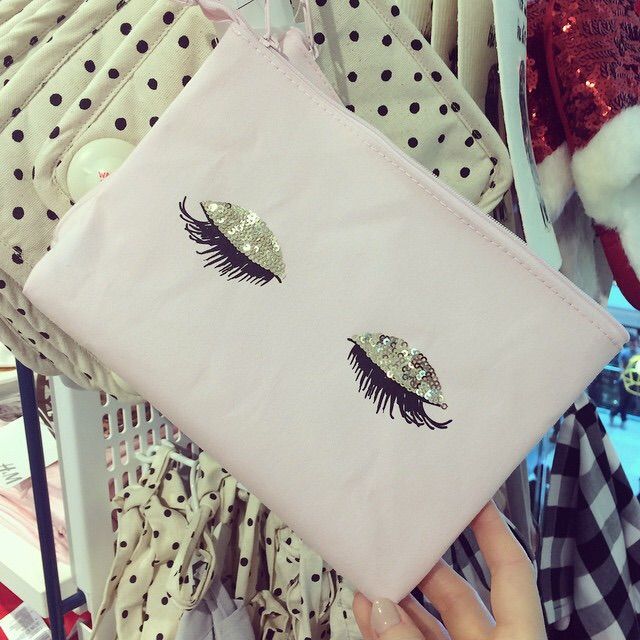
I was browsing through Tumblr and I came across this cute sequins lashes clutch and thought it was really cute. I don't know who's the designer or what name brand it belongs to. I searched everywhere and couldn't find no results or any other images of this cute clutch so I decided to make my own version. If you happen to know the brand name or designer of this clutch, please comment below but in the mean time follow these easy steps to create your own version.
 Materials
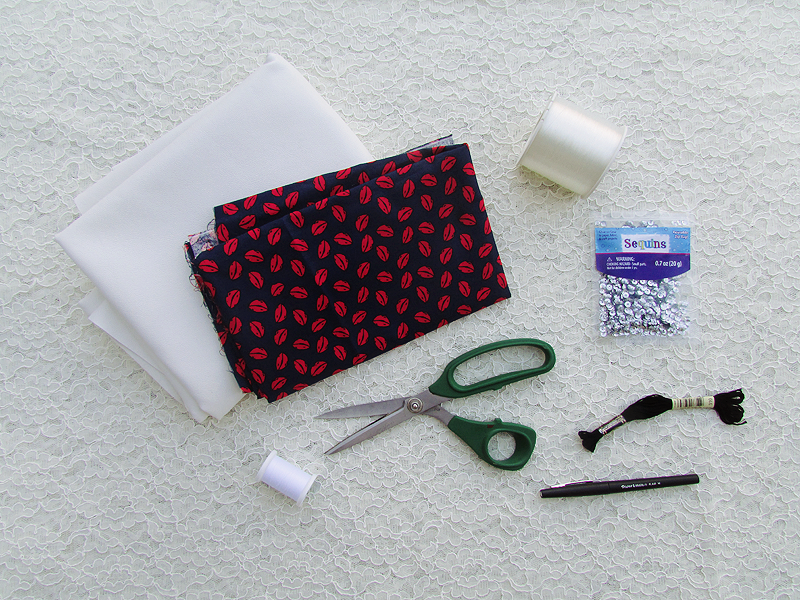
:
White Leather Fabric
Red Lips Fabric
Scissors
Pink Zipper
Needle
Embroidery Threads
Fish Line Threads
White Sewing Threads
Sequins
Marker
Chalk
 Step 1
:
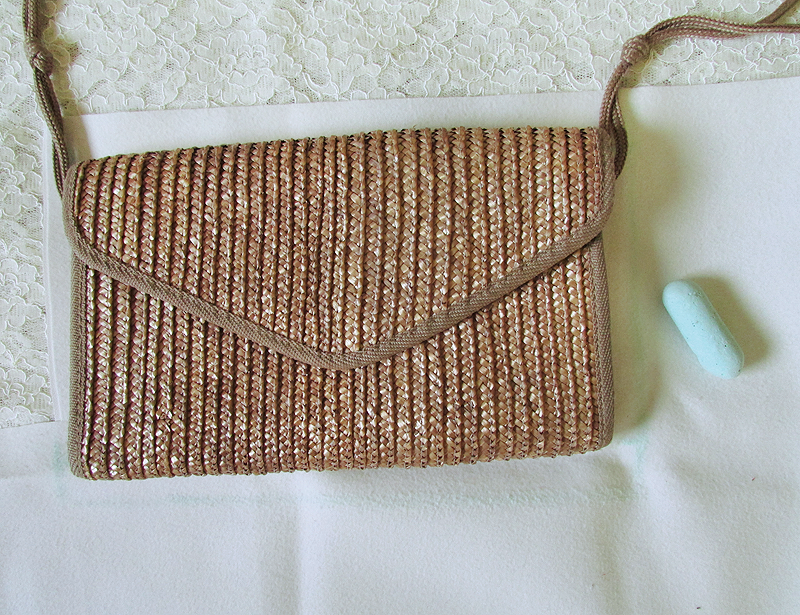
Take an old clutch and use a chalk to trace on the leather. Make sure to leave extra space for sewing.
Measurments:
Length= 12 inches
Height= 8 inches
 Step 2
:
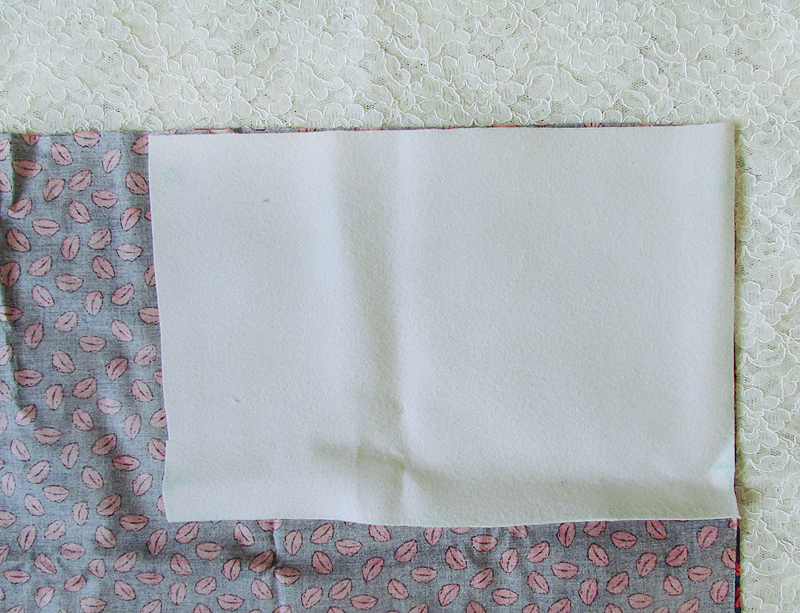
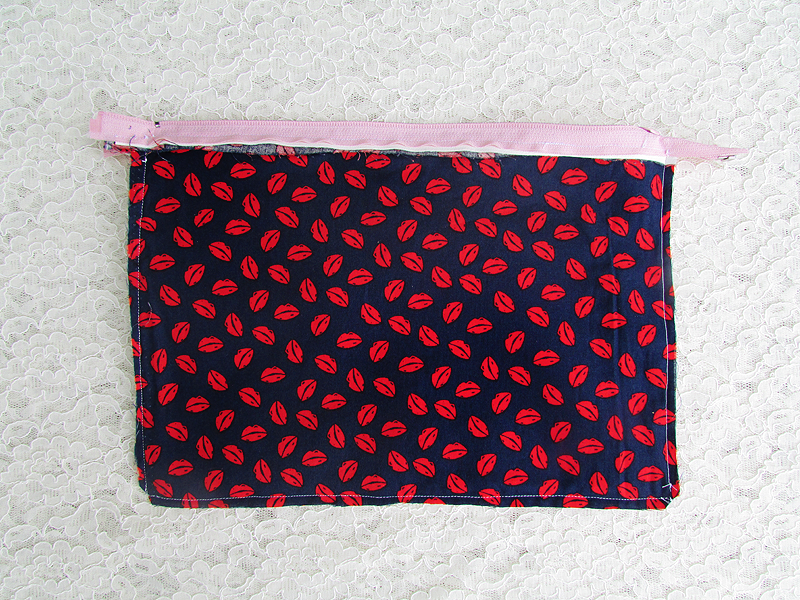
Place the leather fabric on top of the second fabric and cut it. The second fabric will be used inside the clutch. I decided to use red lips for my second fabric.
(This part is optional. You don't have to use a second fabric. I decided to use a second fabric because the leather is a bit thin and because I wanted to give it more of a cute and funky look.)
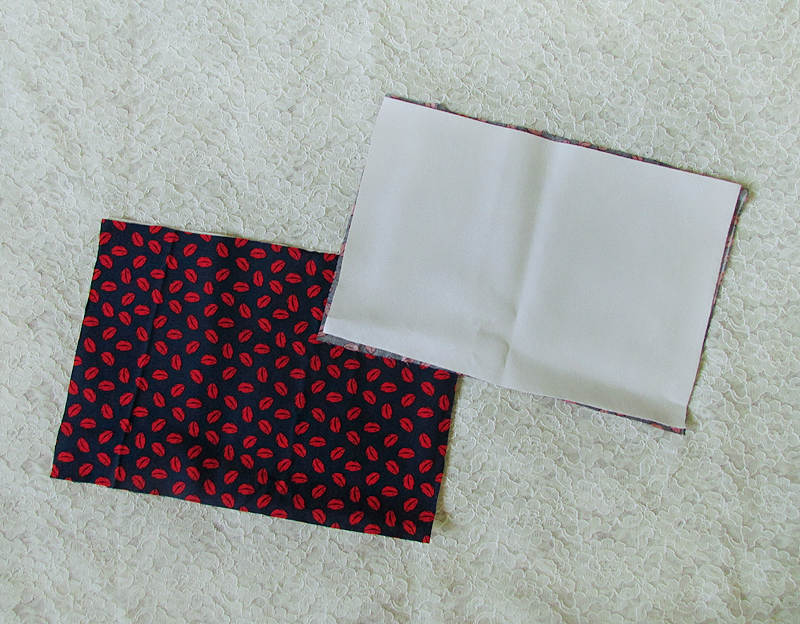
You should have four pieces when you aredone cuting.
 Step 3
:
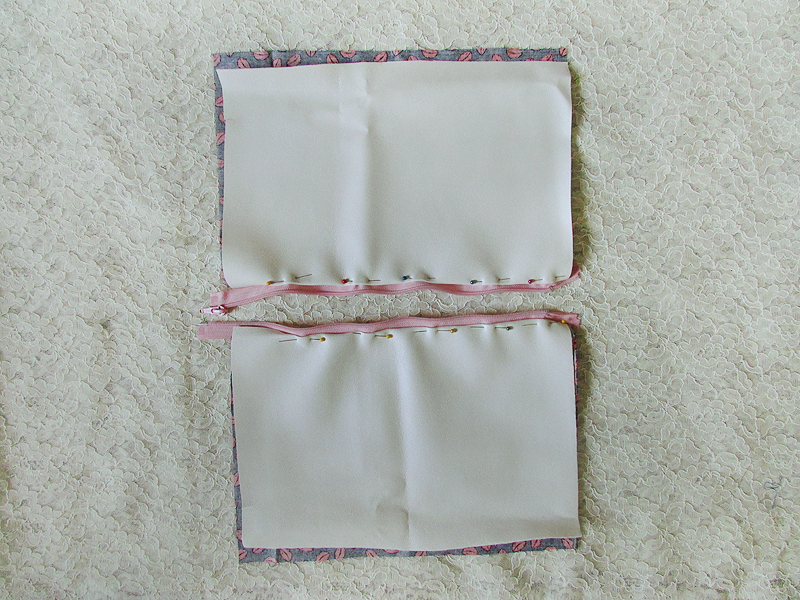
Take all four fabric pieces, pin them onto the zipper, and then start sewing.
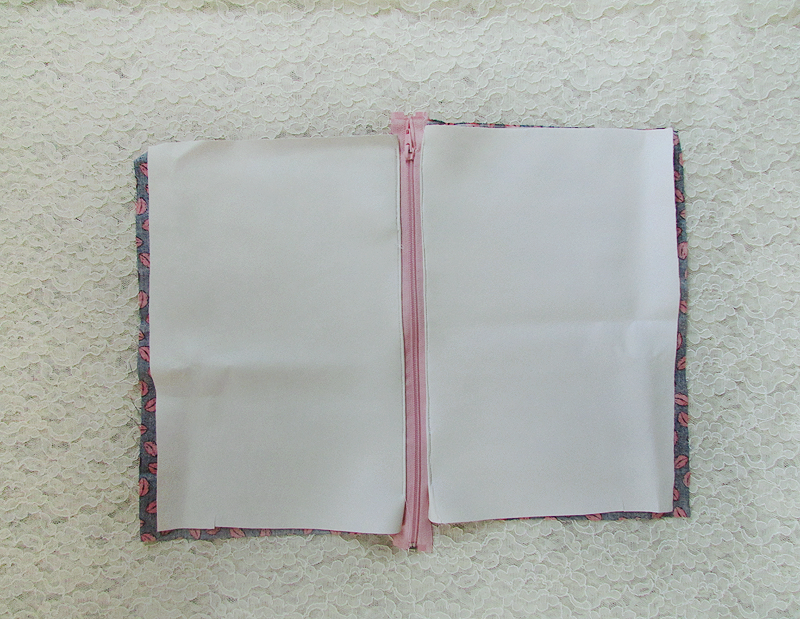
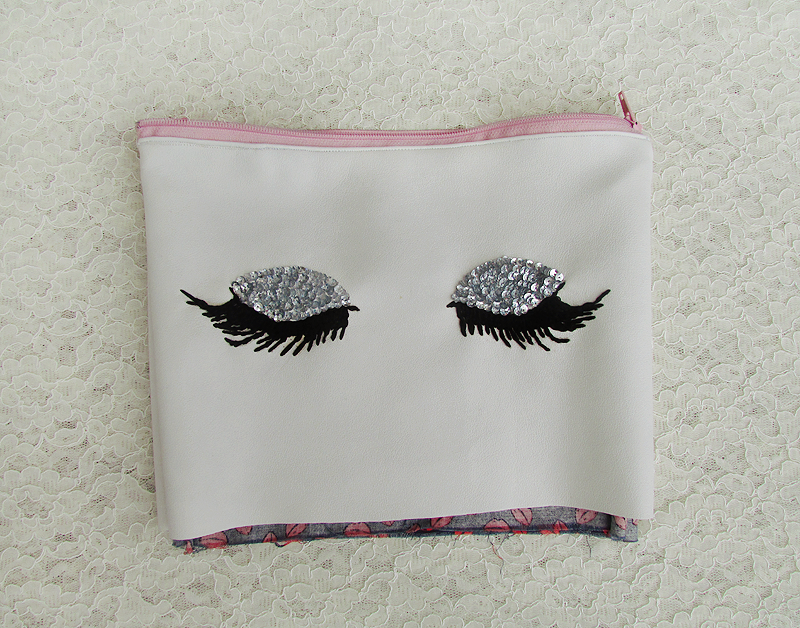
It should look like this when you are done sewing.
 Step 4
:
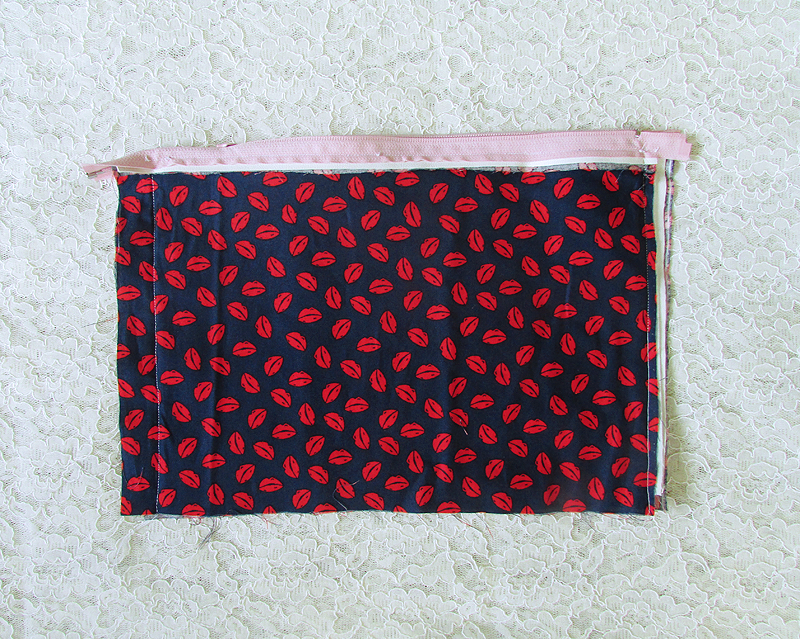
Continue sewing the side edges together.
 Step 5
:
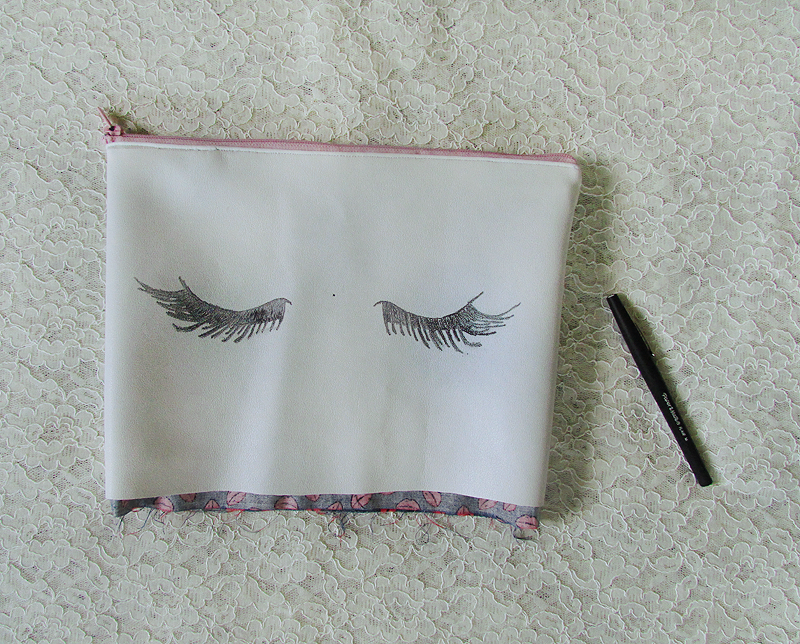
Take a marker and start drawing the lashes on the leather fabric. I also marked a dot in the middle to help me keep the eyes equally centered.
 Step 6
:
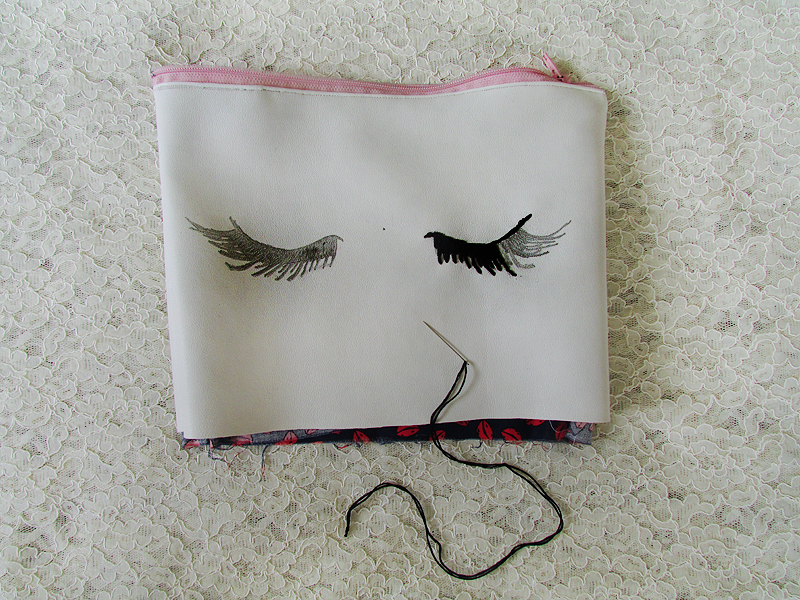
Use a needle and some embroidery thread to hand sew over the drawn lashes. Keep repeating this step over and over until you are done.
(This step is a bit complicated. It took me a few times to perfect it. It's time consuming so be patient.)
 Step 7
:
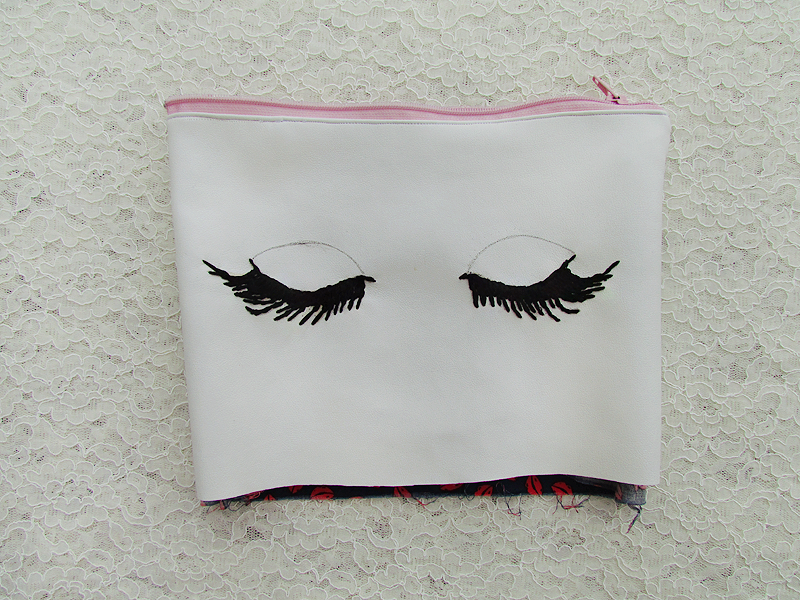
When you are done embroidering the lashes, take the marker again and draw the lids.
 Step 8
:
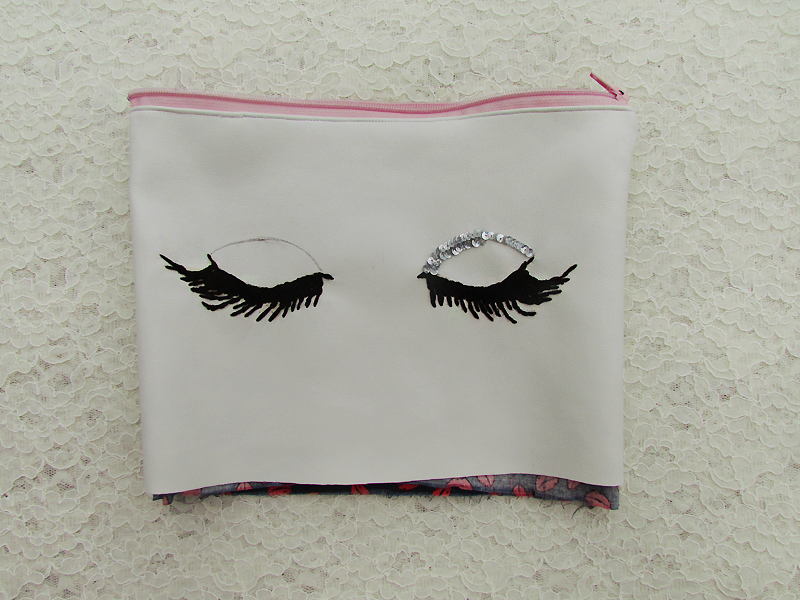
Start sewing over the lids with some sequins using clear fish line thread. Keep repeating this step over and over until you are done.
It should look like this when you are done.
 Step 9
:
Flip the clutch inside out and finish sewing the bottom of the clutch.
 Step 10
:
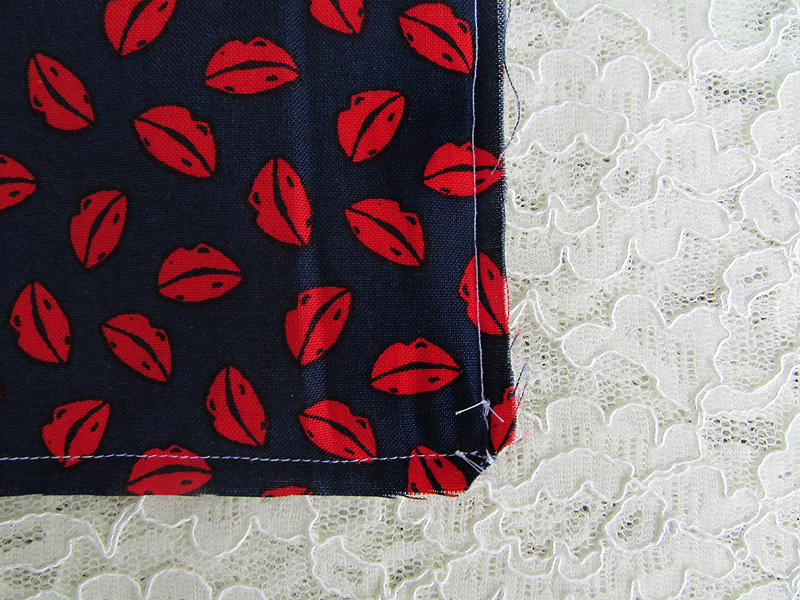
When you are done sewing, cut the corners off to make it easier to fold right side out.
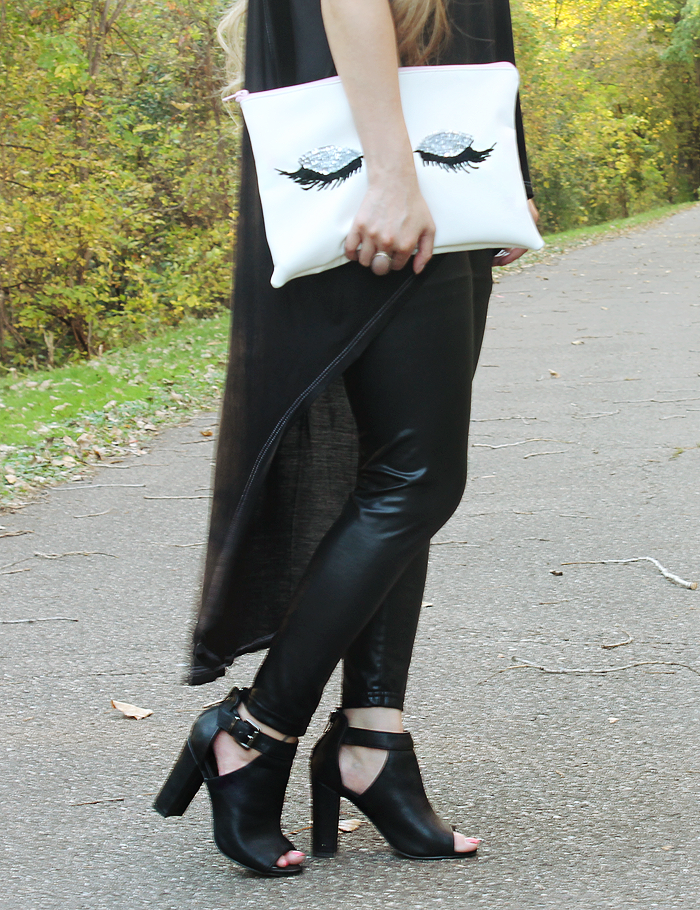
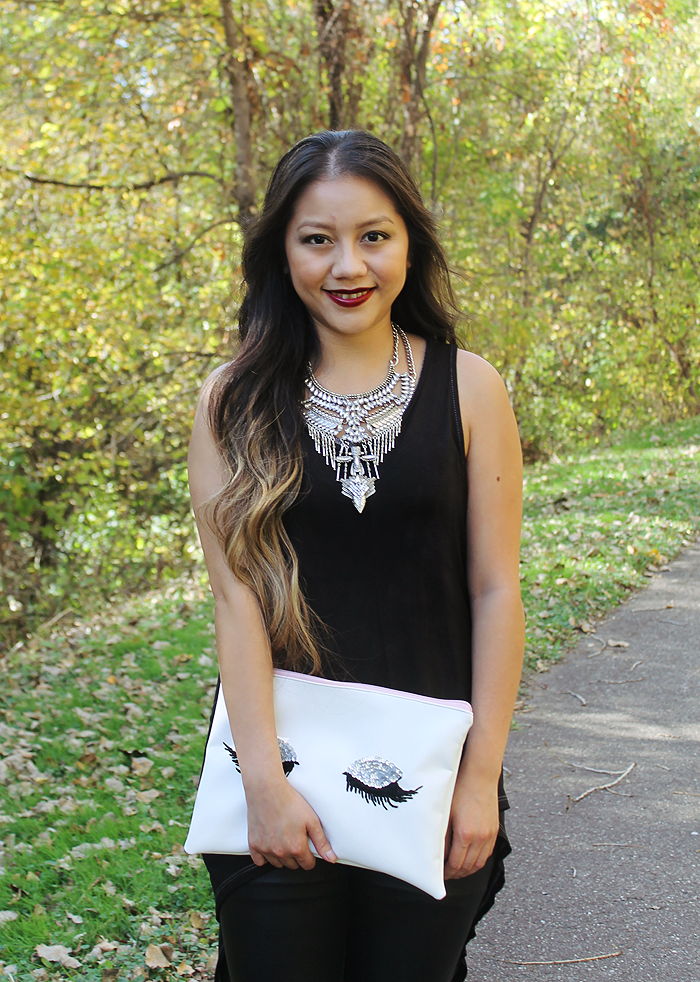
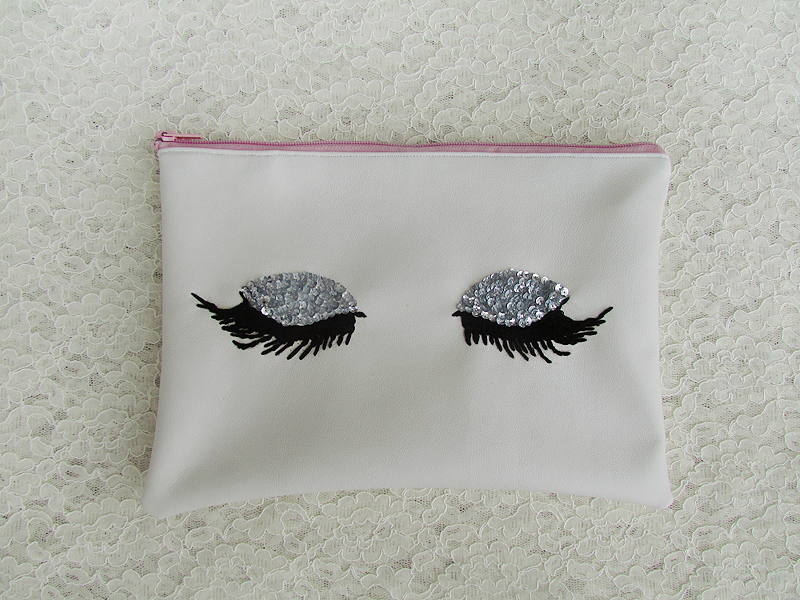 FINISHED LOOK!!
 I was browsing through Tumblr and I came across this cute sequins lashes clutch and thought it was really cute. I don't know who's the designer or what name brand it belongs to. I searched everywhere and couldn't find no results or any other images of this cute clutch so I decided to make my own version. If you happen to know the brand name or designer of this clutch, please comment below but in the mean time follow these easy steps to create your own version.
 Materials:
White Leather Fabric
Red Lips Fabric
Scissors
Pink Zipper
Needle
Embroidery Threads
Fish Line Threads
White Sewing Threads
Sequins
Marker
Chalk
Materials:
White Leather Fabric
Red Lips Fabric
Scissors
Pink Zipper
Needle
Embroidery Threads
Fish Line Threads
White Sewing Threads
Sequins
Marker
Chalk
 Step 1:
Take an old clutch and use a chalk to trace on the leather. Make sure to leave extra space for sewing.
Measurments:
Length= 12 inches
Height= 8 inches
Step 1:
Take an old clutch and use a chalk to trace on the leather. Make sure to leave extra space for sewing.
Measurments:
Length= 12 inches
Height= 8 inches
 Step 2:
Place the leather fabric on top of the second fabric and cut it. The second fabric will be used inside the clutch. I decided to use red lips for my second fabric.
(This part is optional. You don't have to use a second fabric. I decided to use a second fabric because the leather is a bit thin and because I wanted to give it more of a cute and funky look.)
Step 2:
Place the leather fabric on top of the second fabric and cut it. The second fabric will be used inside the clutch. I decided to use red lips for my second fabric.
(This part is optional. You don't have to use a second fabric. I decided to use a second fabric because the leather is a bit thin and because I wanted to give it more of a cute and funky look.)
 You should have four pieces when you aredone cuting.
 Step 3:
Take all four fabric pieces, pin them onto the zipper, and then start sewing.
Step 3:
Take all four fabric pieces, pin them onto the zipper, and then start sewing.
 It should look like this when you are done sewing.
 Step 4:
Continue sewing the side edges together.
Step 4:
Continue sewing the side edges together.
 Step 5:
Take a marker and start drawing the lashes on the leather fabric. I also marked a dot in the middle to help me keep the eyes equally centered.
Step 5:
Take a marker and start drawing the lashes on the leather fabric. I also marked a dot in the middle to help me keep the eyes equally centered.
 Step 6:
Use a needle and some embroidery thread to hand sew over the drawn lashes. Keep repeating this step over and over until you are done.
(This step is a bit complicated. It took me a few times to perfect it. It's time consuming so be patient.)
Step 6:
Use a needle and some embroidery thread to hand sew over the drawn lashes. Keep repeating this step over and over until you are done.
(This step is a bit complicated. It took me a few times to perfect it. It's time consuming so be patient.)
 Step 7:
When you are done embroidering the lashes, take the marker again and draw the lids.
Step 7:
When you are done embroidering the lashes, take the marker again and draw the lids.
 Step 8:
Start sewing over the lids with some sequins using clear fish line thread. Keep repeating this step over and over until you are done.
Step 8:
Start sewing over the lids with some sequins using clear fish line thread. Keep repeating this step over and over until you are done.
 It should look like this when you are done.
 Step 9:
Flip the clutch inside out and finish sewing the bottom of the clutch.
Step 9:
Flip the clutch inside out and finish sewing the bottom of the clutch.
 Step 10:
When you are done sewing, cut the corners off to make it easier to fold right side out.
Step 10:
When you are done sewing, cut the corners off to make it easier to fold right side out.
 FINISHED LOOK!!


well done! the bag looks so cool and unique!
ReplyDeletehttp://jeansandroses.blogspot.com